 Sign in
Connect the motors to Lego Brick
This lecture details what each part in your first Lego robot does. The focus is on connecting the parts together. You will learn about the ports of the Lego brick, and you will find out where and how motors and sensors can be connected.
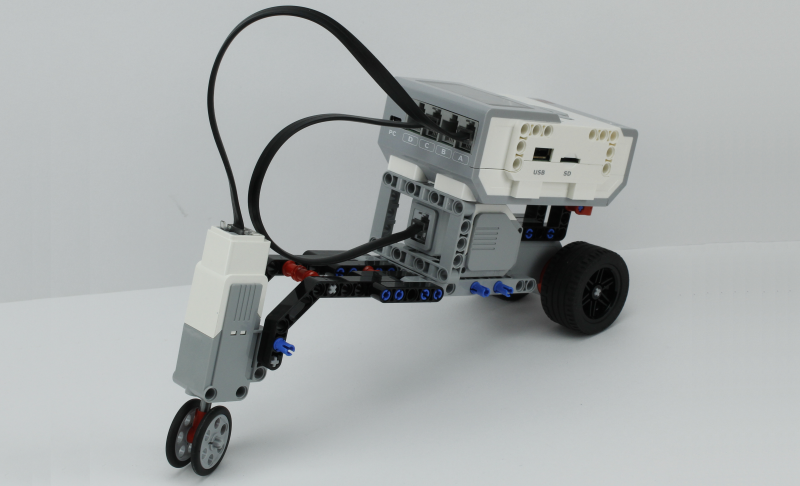
Figure 1 - The Chopper with cables
Requirements
- 2 pieces of EV3 cables
- Assembled Ozeki Chopper frame: http://www.ozeki.hu/index.php?owpn=6202
Plug in the Chopper motors by using two EV3 cables
First check if you have two EV3 cables and the Chopper's frame from the previous lecture. If not, than please build the Chopper by using the required Lego Mindstorms kit parts. Now you will need to take these two cables in your hand to wire the two motors to the EV3 Brick. Due to this, you can control both motors. The Large motor provides the propulsion and the Medium motor is for steering.
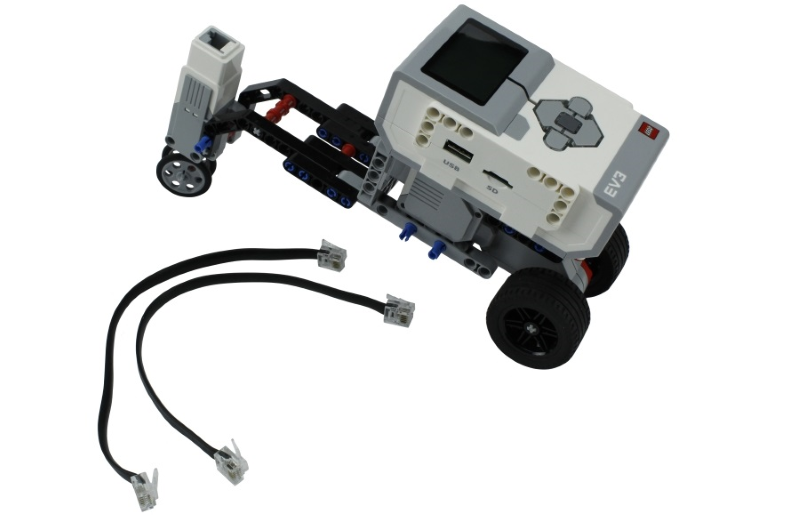
Figure 2 - A Chopper frame and two EV3 cables
In this step you will connect the Medium motor to the Lego Mindstorms EV3 Brick. Please take one end of the cable and plug it in the top of the Medium motor. You can also find the high power A, B, C and D ports above the Brick's LCD screen. You should connect the other end of the cable to port A (Figure 3). After the Medium motor is connected, the Brick can control it.
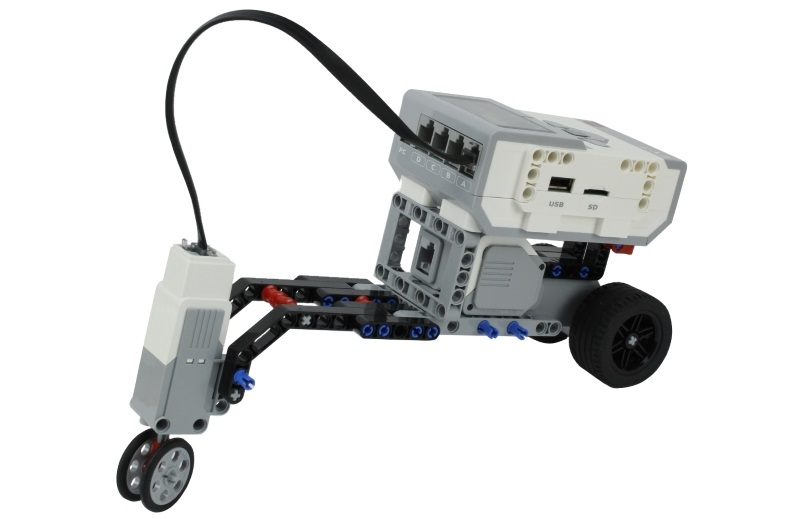
Figure 3 - Plug the Medium motor to the Brick's A port
In this step you will connect the Large motor to the Lego EV3 Brick. For this take the other cable and connect it to the top of the Large motor. Now you should connect the cable to port C of the Brick (Figure 4). After this, both motors are connected to the Brick and can be controlled through the display and also from Ozeki 10, which you will learn more about in the future.
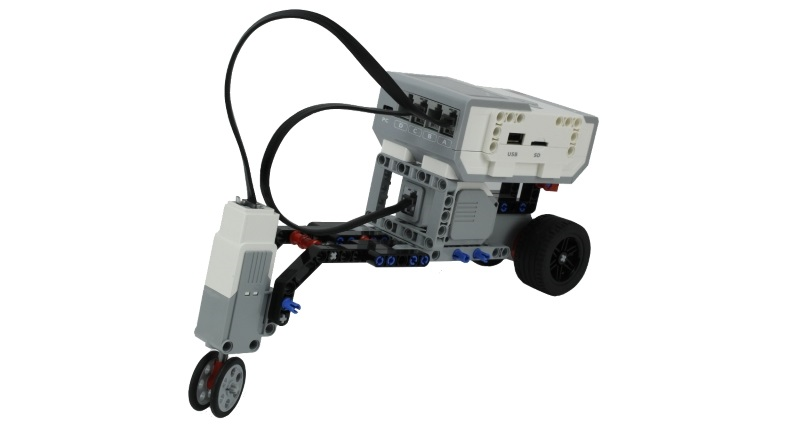
Figure 4 - Plug the Large motor to the Brick's C port
Test both motors from the Motor Control menu of the Brick!
You can test each motor from the Lego Mindstorms EV3 Brick's LCD screen by finding the 'Motor control' menu using the arrow buttons. To control motor A, press the top button of the Brick. Test motor C by pressing the middle button which switches to B+C mode. It is good to know that the Lego Brick's LCD screen is only for test purposes, but from Lecture 7 you will see how easily you can control these motors from Ozeki 10's chat interface or block diagram codes.
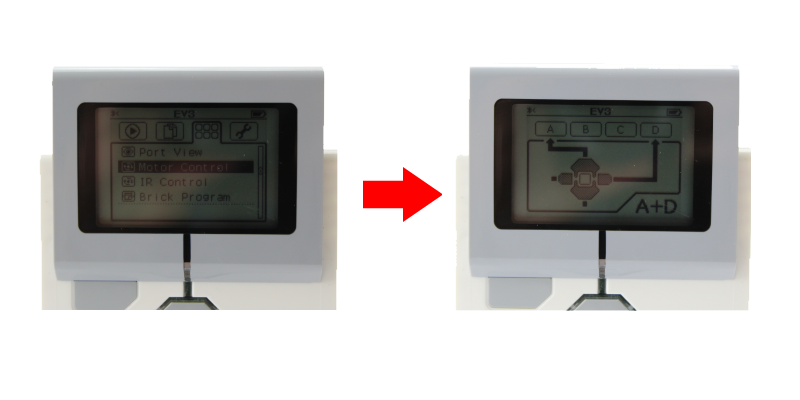
Figure 5 - Testing both motors directly from the EV3 Brick
More information
- Collect the parts
- Build the frame
- Connect the motors to Lego Brick
- Connect the Lego Brick to your Windows PC
- Install Ozeki Robot Developer
- Connect the Lego robot to Ozeki 10
- Test the Lego Motors individually
- Start SNAP and write your first program
- Use Lego blocks in SNAP to control Lego Motors
- Drive your Robot around obstacles