 Sign in
Introduction to cameras, taking snapshots
Cameras record video streams frame by frame. Robot vision is based on processing each frame. In this lecture you will learn how to capture a frame using a USB camera when a button is pressed on your robot. You will also learn how to send the captured snapshot as an e-mail message.
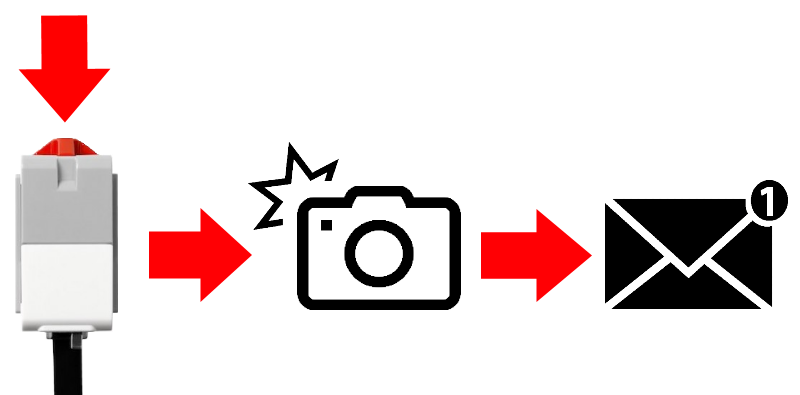
Figure 1 - Check how you can send snapshots in e-mail
Requirements
- USB camera connected to your PC
- Ozeki 10 installed: http://www.ozeki.hu/index.php?owpn=6066
- Lego connection installed: http://www.ozeki.hu/index.php?owpn=6067
- Snap basics: http://www.ozeki.hu/index.php?owpn=6180
Setup USB Camera connection!
After you connected the USB camera to the PC, to use it with the applications of Ozeki 10, you need to create a connection in Control Panel. So, for just click on Create new Connection and first select the Video connection method. After that you need to choose the USB Camera as you can see in Figure 2. Lastly you can modify the details of the connection, for example the name of the connection, and also you can set the resolution and the frame rate of the camera.
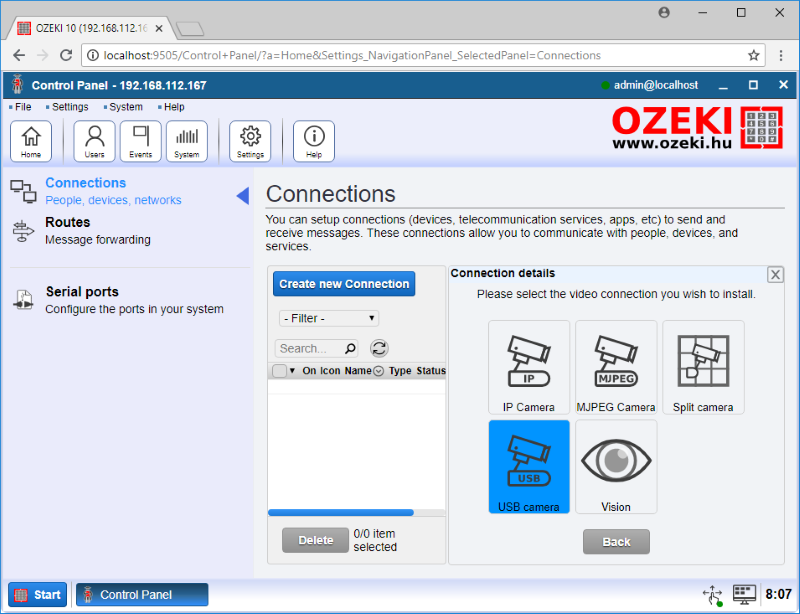
Figure 2 - Video connections in Ozeki 10
Setup the e-mail connection!
To send an e-mail in case of button presses on the touch sensor, you have to create a connection, that can forward messages. The creation of this connection is the same as all the other connections. So, just click on Create new Connection and select the Messaging method. Next, from the Messaging connections you need to choose the E-mail connection (Figure 3).
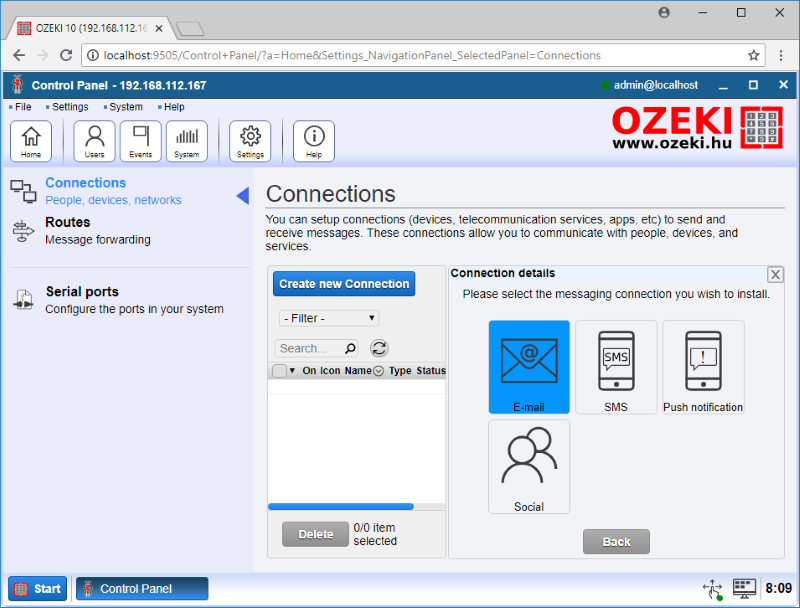
Figure 3 - Messaging connections in Ozeki 10
From the e-mail connection, now you need to select the Gmail connection. Before finishing the creation of the connection, you can give a name to the connection set the setting of the SMTP server, but if you leave it as default, it will work properly and also you need to add an Gmail account (Figure 4). This will be the account that the connection will use to send e-mail messages.
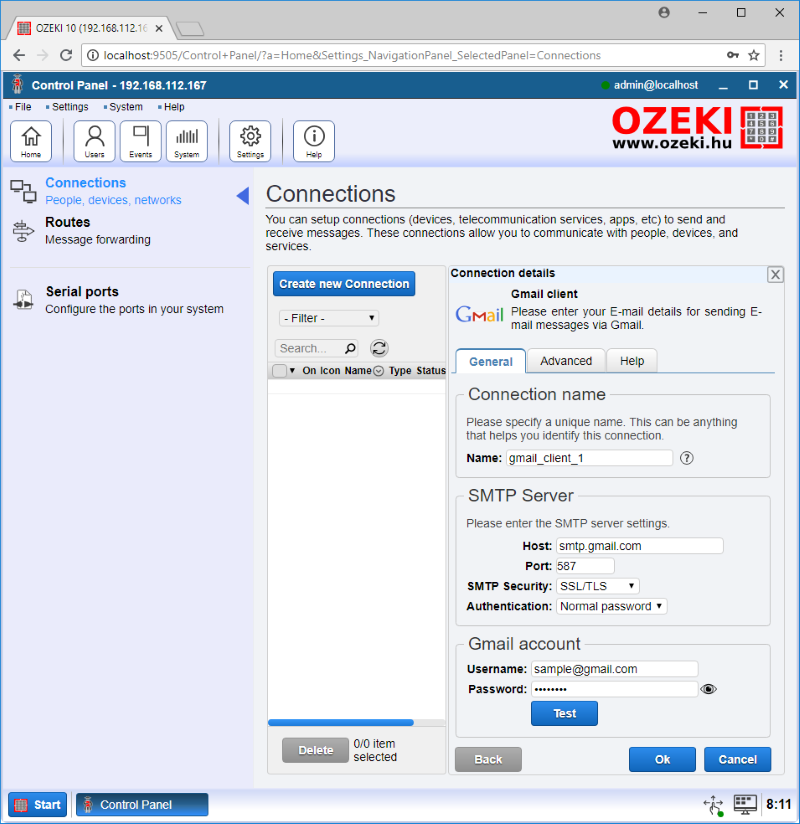
Figure 4 - Setup of the Gmail connection
Write code to detect presses on the touch button!
After you setup all the required connections, now you can write the code for that in SNAP. So, first add the 'When green flag clicked' entry point. Then, to detect the presses continuously, you need to drag the 'Forever' block. In that 'Forever' block, you have to place a 'Wait until' block, that will wait for the button press. So, as you can see in Figure 5 for that first drag the '=' operator, and to the left hand side add the 'Button on' block, and select the Touch sensor. To the other side just type 'on'.
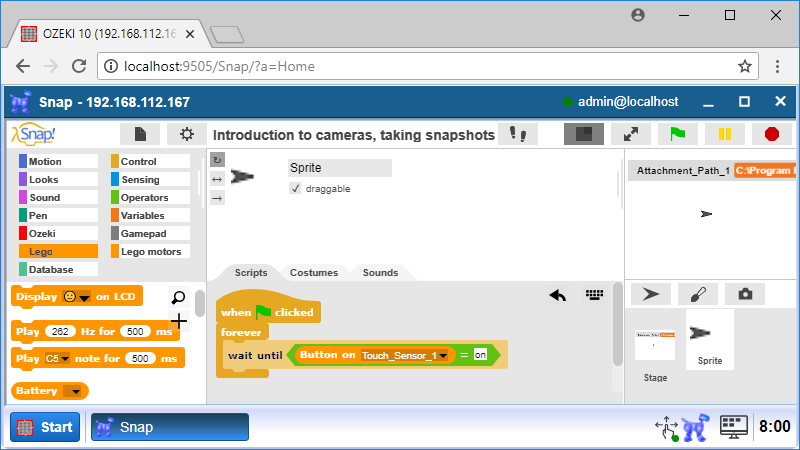
Figure 5 - The code waits until a button press on the touch sensor
Upgrade code to take snapshot in case of button presses!
When the button is pressed , the control of the program move towards the next block. Now, this block needs to be a 'To [connection], message: [text]' block. This block will take the snapshot with the USB camera. So, in that block, select the USB camera connection, and type the command 'snapshot'. But firstly, you need to subscribe to the connection, so add the 'Subscribe' block above the 'Forever' and select the camera connection. Lastly to take only one shot at one press, please add the 'Wait until' block, and wait till the button on the touch sensor is 'off' again like in Figure 6.
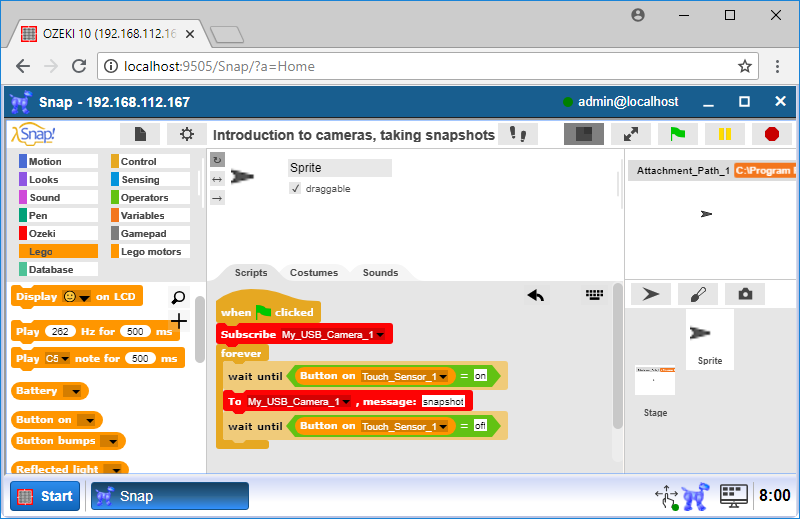
Figure 6 - The code takes one snapshot when the button was pressed
Expand code to send the snapshot in e-mail!
To send the snapshot as an attachment in e-mail, first you need to create a variable with the name 'Attachment_Path_1'. It is important to give this name, because the e-mail will handle it as an attachment only this way. Next with a 'Set' block, set this variable to the path for the snapshot. Lastly add the 'To [connection], address:[e-mail address] message:[text]' block, where for the connection, select the e-mail connection. To the address field type the e-mail address where you want to send the e-mail, and lastly as you can see in Figure 7 in the message field drag the 'list' block, and add in there the 'Attachment_Path_1' variable.
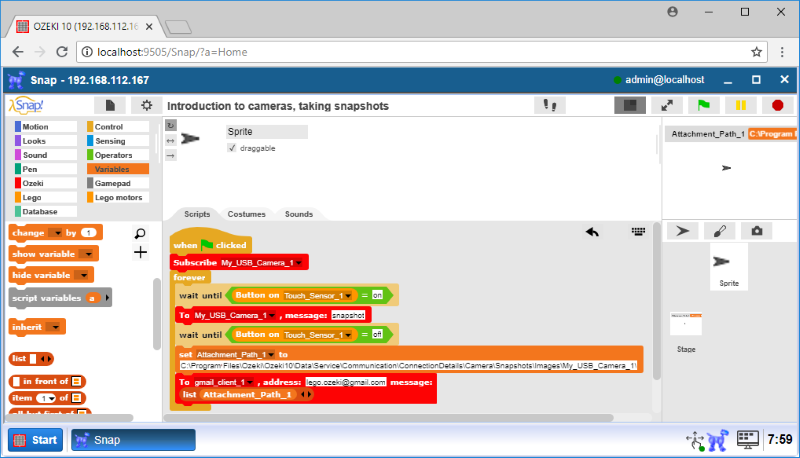
Figure 7 - The saved snapshot sent by e-mail
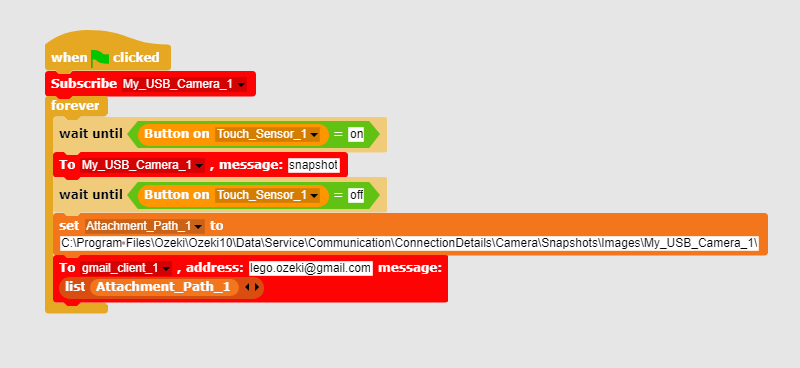
Figure 8 - The code can detect candies with different colors and sort them into cups
|
|
Download program code to take snapshots by triggering a sensor The code can take snapshots in case of button press and send them by e-mail It is easier to follow the guide if you have the codes in front of you: Download Ozeki Snap code |
More information
- Introduction to visual sensors
- Introduction to cameras, taking snapshots
- Face detection
- Barcode recognition / build a cash register
- Computer vision, QR code recognition
- Motion detection
- Circle detection, line detection, measurements using cameras
- Car license plate recognition
- Build a PTZ camera
- Use a VR headset to control your camera