 Sign in
Robots
|
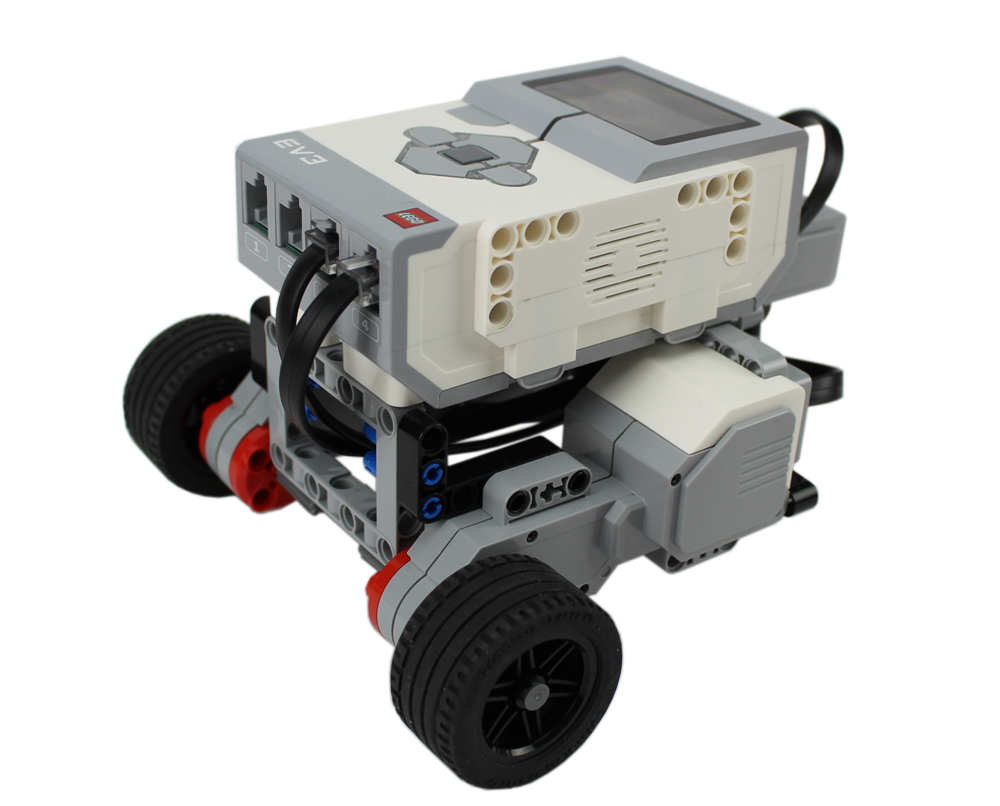
Simpler
The simpler is the most simple robot you can build. It contains a single motor and can go forward and back. It is great for the classroom, as it can be built quickly, and it can be used to learn about angles, circles, distances and speeds. Build instructions |
|
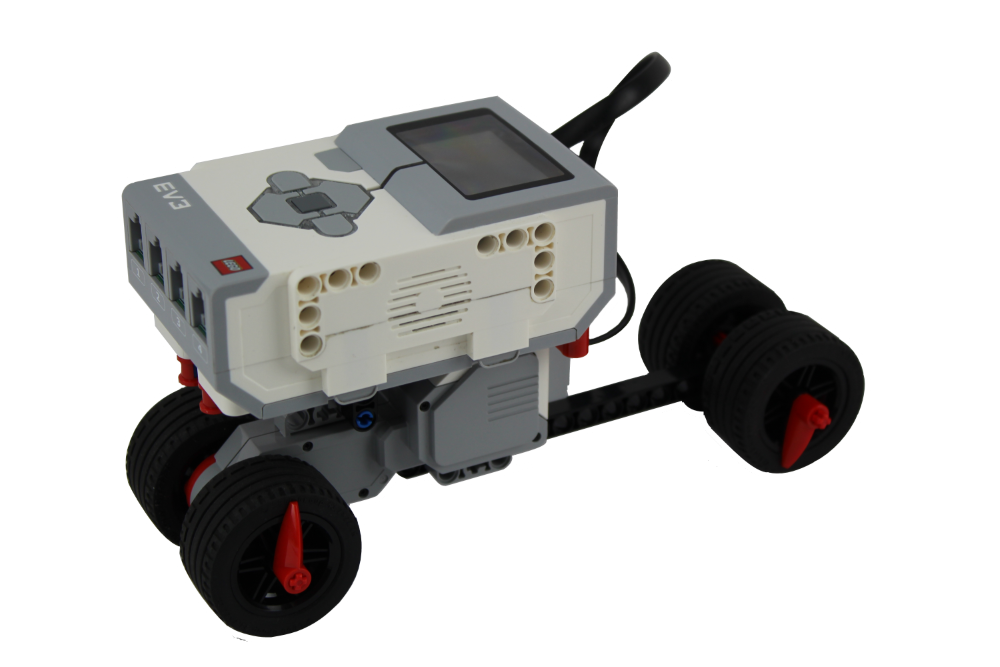
Chopper
The chopper is the simplest robot you can build. It can be programmed to drive around an obstacle course. It uses a large Lego motor for driving forward and backward and a medium motor for steering the front wheel left or right. The Brick drives the robot according to instructions received from the control PC. Build instructions |
|
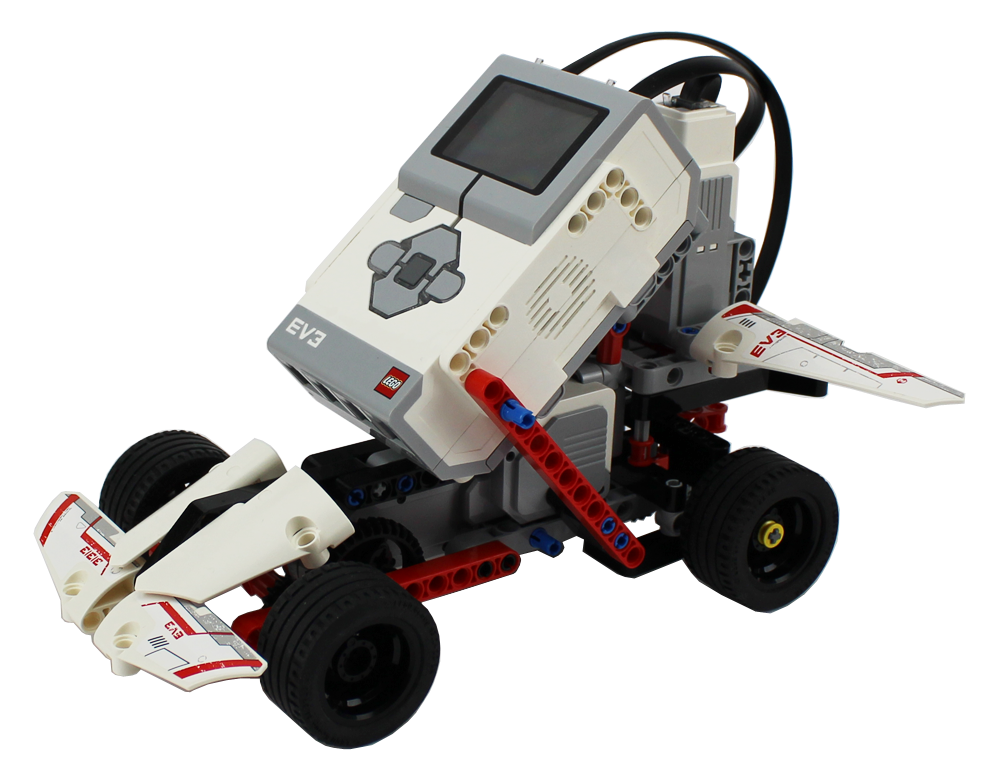
Speeder
The robot race car has a gear system installed, to make it go much faster than other Lego robots. It is driven by a single strong motor, and steering is handled by a medium motor. Gears are also used for steering. This robot also has a very appealing design, and is loved by students around the world. Build instructions |
|
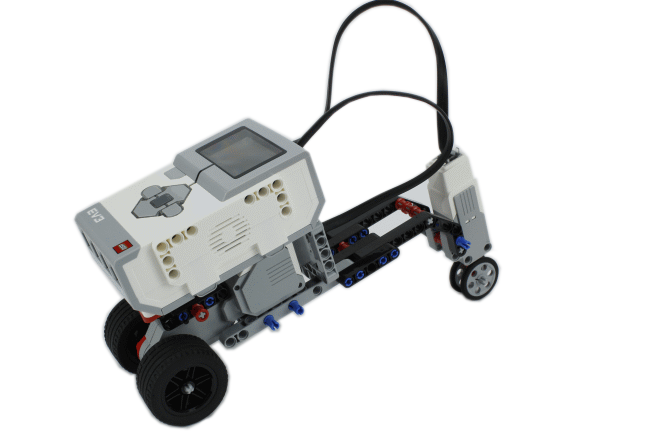
Sniffer
It is fast and stable. With it's two large motors it has high speed and torque. It can easily turn to a preferred direction even if it is standing on a stable location. You can attach additional sensors to it for the Ozeki Robot Developer courses. For example, touch, IR or ultrasonic sensors. The bot has no 3rd wheel, it can slide on it's nose. Build instructions |
|
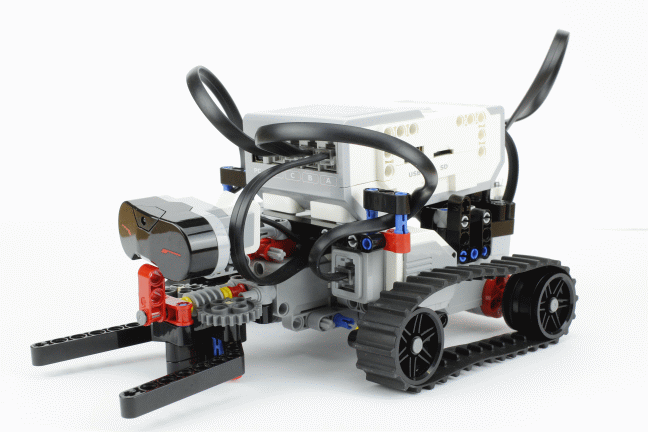
Dozer
The caterpillar vehicle can move on rough roads. It can go forward, reverse and turn using two large motors. It has an IR sensor that can be used to detect the proximity of objects. It can grab objects and drag them away. It can also be equipped with a color sensor and can be used to acomplish line following tasks. It is good looking, fun to use robot. Build instructions |
|
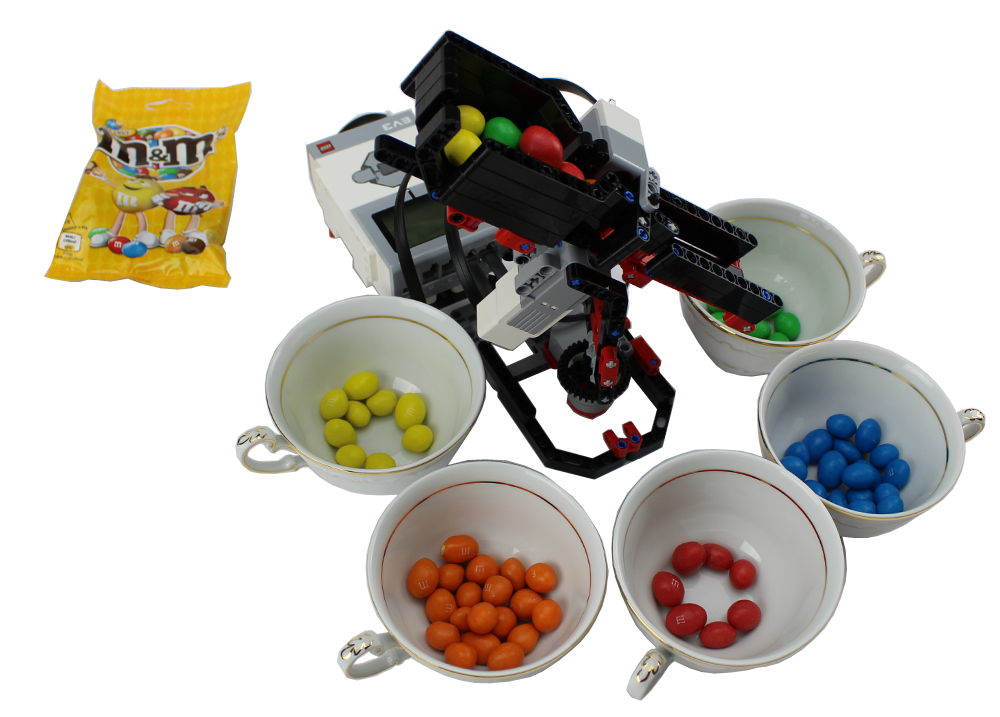
Sorter
The color sorter can detect colors and sort small objects, such as M&M candies. This candy sorter uses two motors. A large motor turns the sorting tray to the apropriate cup, according to the detected color. The medium motor pushes the next candy to the color sensor, then it releases it to make it fall to the appropriate cup. This robot is used in our computer vision lecture to demonstrate how industrial vision systems operate. Build instructions |
|
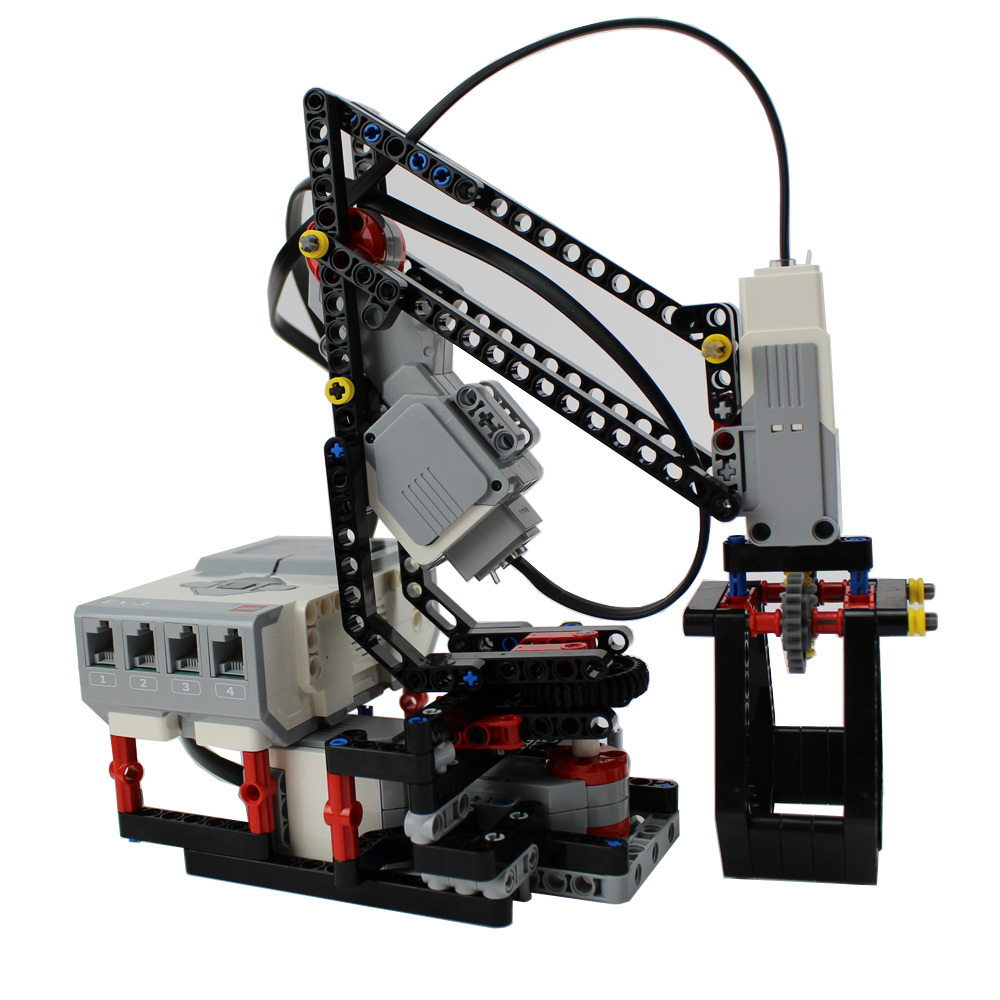
Miner
The miner robot can grab objects with it's gripper and can move them around. It uses two large motors for movement, and a mediam motor for operating the gripper. It is a great robot to practice robot control programming, and to implement movement patterns. It can also help in other lectures. You will meet with it in our QR code detection lecture in the robot vision course. Build instructions |

|
Legoshnikov
The leghosnikov is a simple machine gun, made from a single medium motor and a lego brick. It uses the button sensor as the trigger. When the trigger is pressed it fires the balls continuously. You can write a program to do single shots or continuous shots. This robot toy is great for boys and girls, who love to play with guns. Build instructions |
|
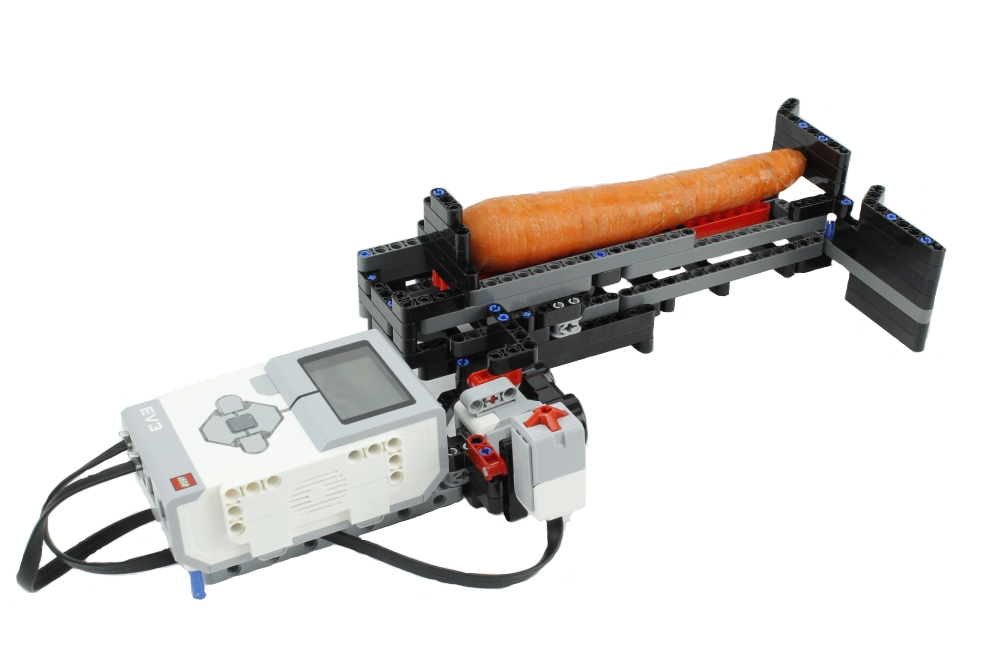
Lengther
The lengther is a length measuring device, that can be used to measure carrots or anything else within the range. It has a slide, where the carrots can be placed and it uses an ultrasonic distance sensor to do the measurement. With the appropriate program written in Ozeki 10, you can save the measurements into a database or into an Excel spreadsheet. Build instructions |
|
Lidar
Lidars are laser distance sensors that rotate around to map the surrounding area. For example lidars are used in robot vacuum cleaners and driverless cars. This robot made using the Lego Mindstorms EV3 kit uses the ultrasonic distance sensor to measure the distance and it rotates around using a lego motor. It can map a room, because it can continuously rotate around and can take measurements in a 360 degrees. Build instructions |
|
Morse
Morse code is a method of transmitting text information as a series of on-off tones. In the 19th century morse telegraphs were used instead of telephones to transmit messages. This lego robot made from an EV3 brick and a button sensor, is a morse telegraph. It can be used to write messages using the morse code. Messages are entered using the button, and the letters are displayed on the Lego brick. Build instructions |
|
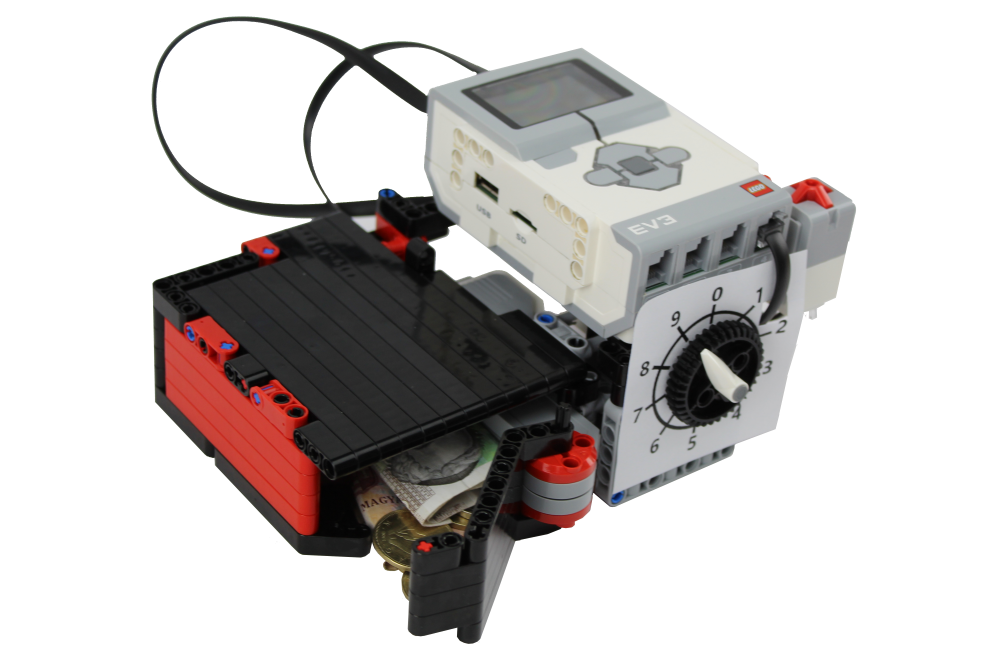
Safe
This a combination safe made from lego. You have to enter the code to open the safe using the combination dial. It works similar to any combination lock. Once the correct code is entered a motor opens the safe door. This is a great device to use to store your valuables. Build instructions |
|
Barrier
This is a barrier for parking lots. It also includes a cannon to shoot unauthorized vehicles. The robot consists of two motors, one is used to raise the barrier, the other is used to shoot the bullet. This robot can work with license plate recognition webcams, to demonstrate how automated parking systems operate. Build instructions |

|
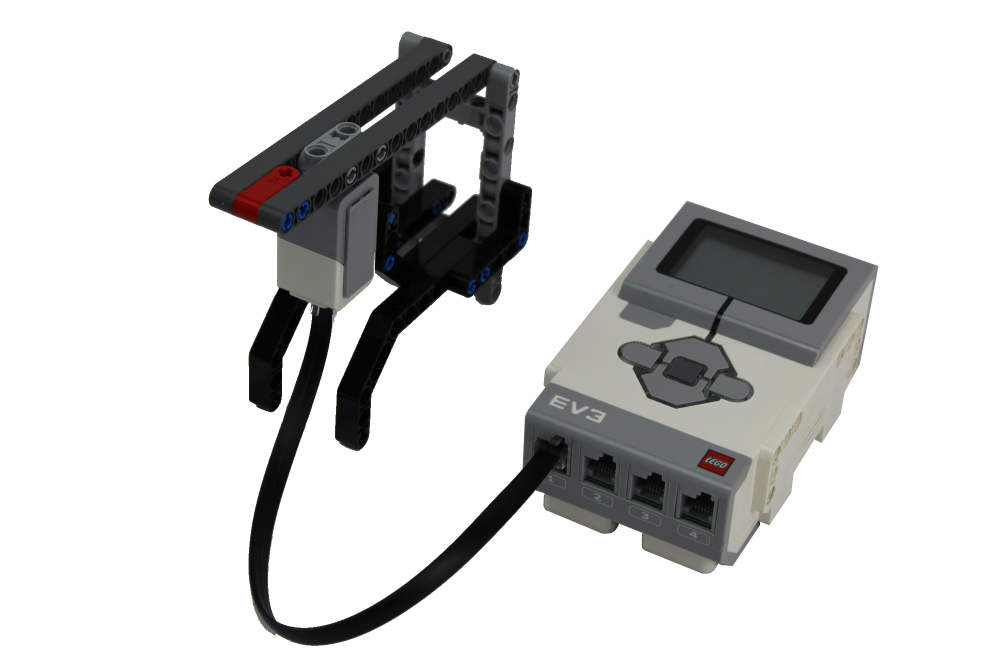
Bumper
The bumper is a robot accessory for detecting collisions. It can be attached to the Sniffer robot. It has a built in button sensor that can detect whether a collision happens. The bumper can detect frontal collisions and collisions at an angle. Build instructions |
|
Spycam
The spycam is a camera, that can pan and tilt. It uses two motors for moving an USB camera attached to it's top. It is great for looking around a room and work the exact same way any security camera does. The spycam can be controlled from the keyboard or from other input sources. Build instructions |
|
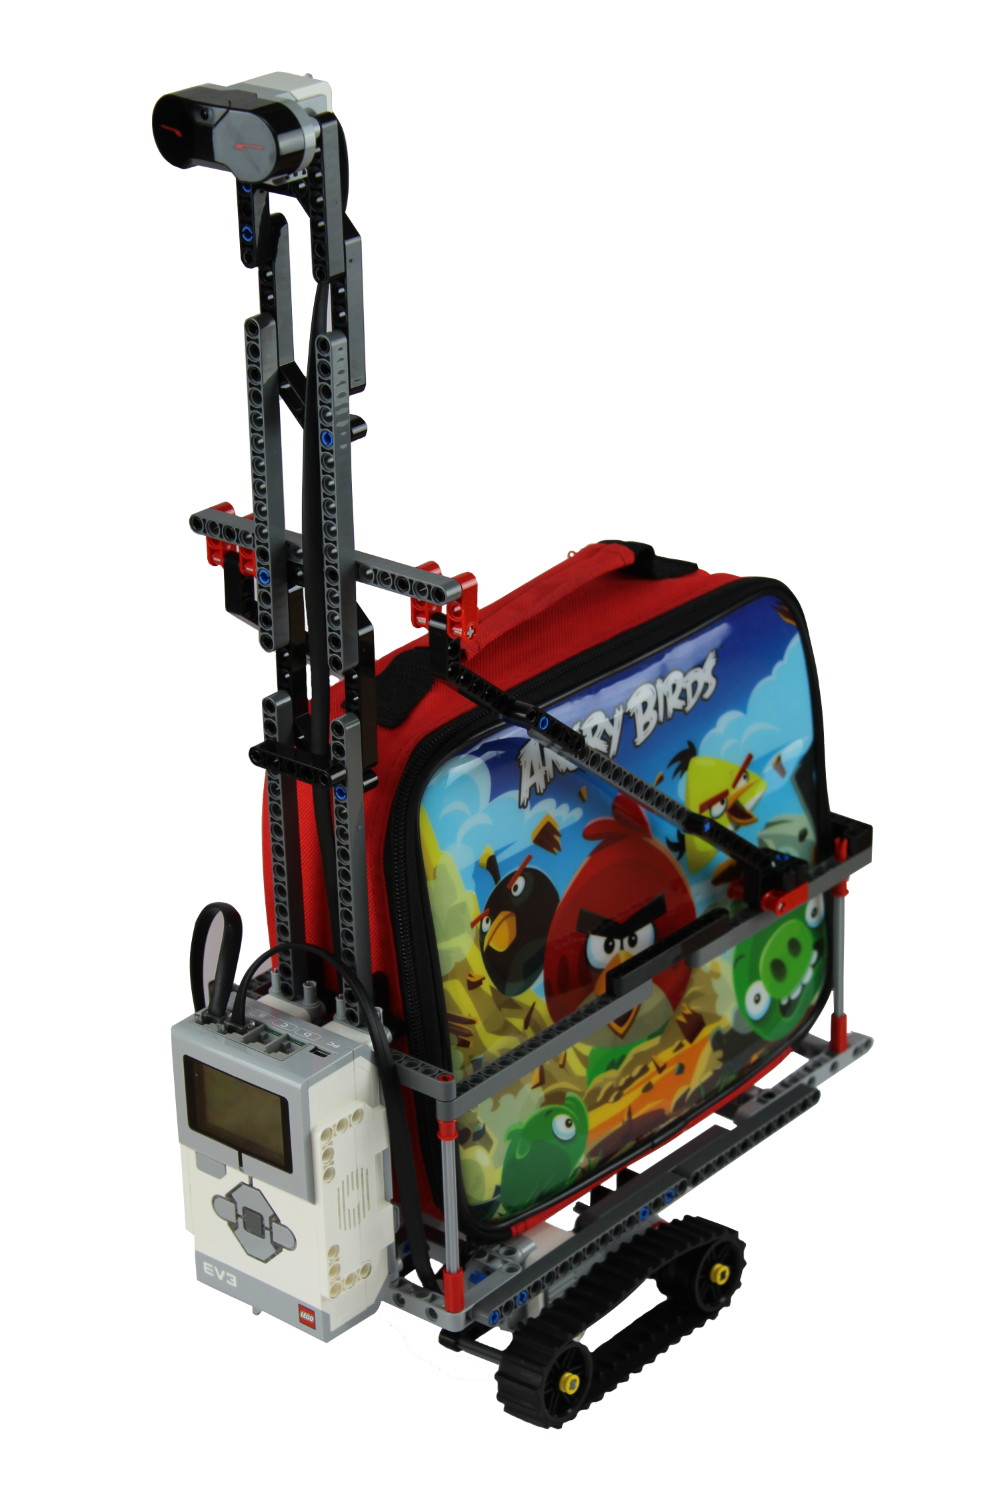
Transporter
The transporter robot was built to carry lunch bags. It can follow a student going to school. It will keep a
distance and turn if it is required to follow the owner. This is a great robot to demonstrate how follow-me
robots operate.
|
|
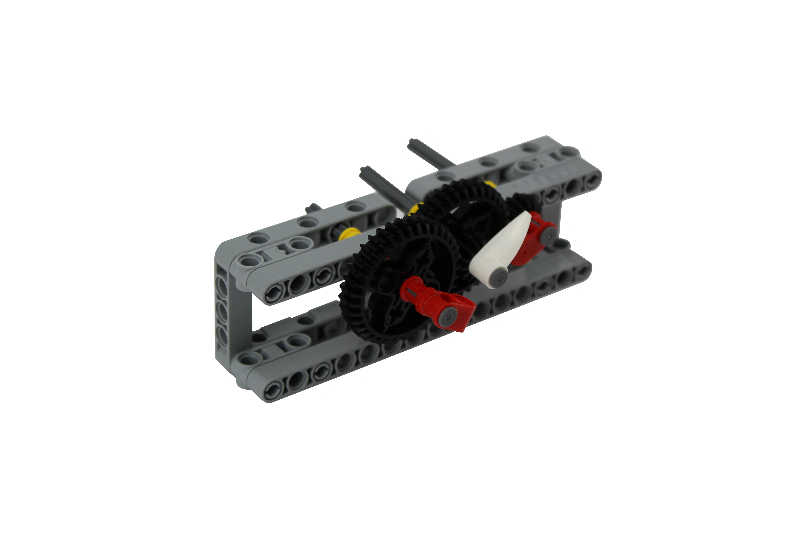
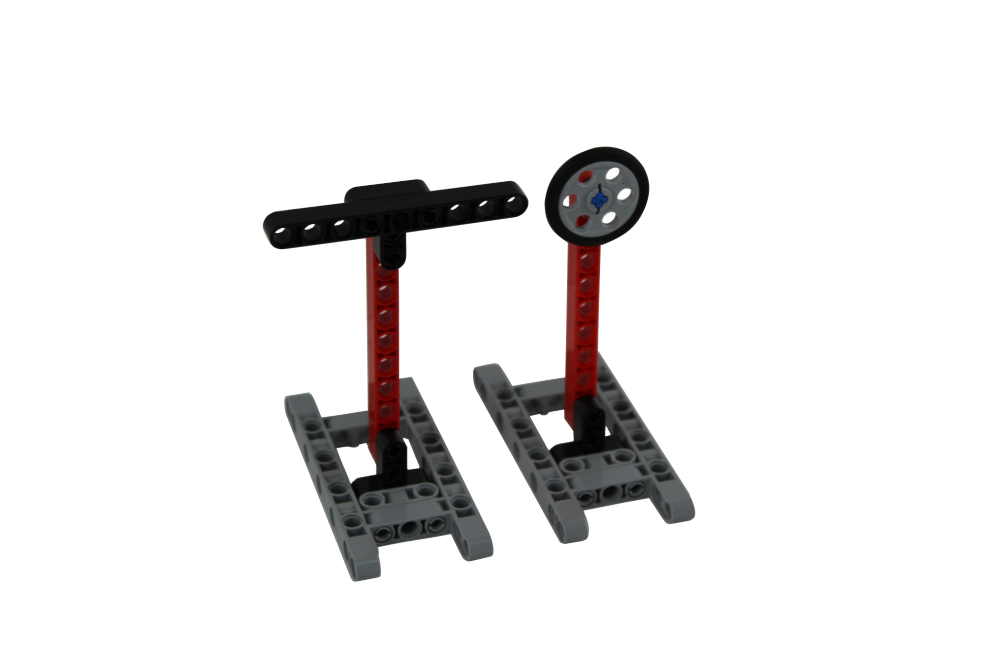
Gears
This piece of Lego demonstrates the benefit of using gears connected to a Lego motor. If the gear is bigger, the wheel connected to it also move faster. You can test it on this simple Lego, using your hands, without a motor. Build instructions |
|
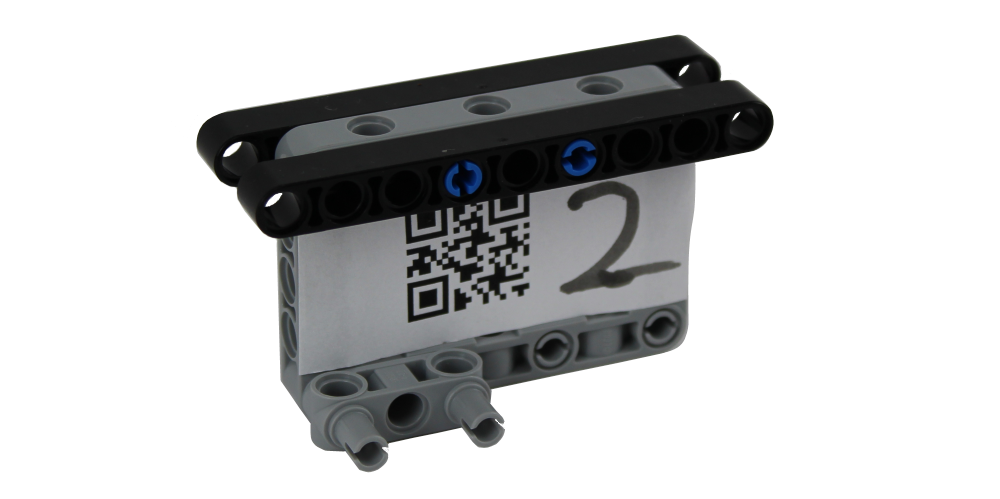
Rock
The rock is used in our QR code detection lecture. It is designed to make it easy for the Miner robot to pick it up. The Miner robot will put it to the left hand side or the right hand side depending on the QR code. QR code detection is done using a USB camera. Build instructions |
|
Pole
This small pole is used for testing automatic circle detection and line detection in the robot vision lecture. The pole can be equiped with beams of various sizes. The software can mease the size of the beam and display it's length on the brick's display. Build instructions |
|
Speedcam
This is a police speed camera. It is based on an ultrasonic sensor. It works the same way real life speed cameras work. It takes two measurements with a defined time between them, than it determines the speed using simple math. It displays the measured speed in kilometers per hour on the brick's display. It comes with code that automatically sends an e-mail if the speed is too high. Build instructions |
|
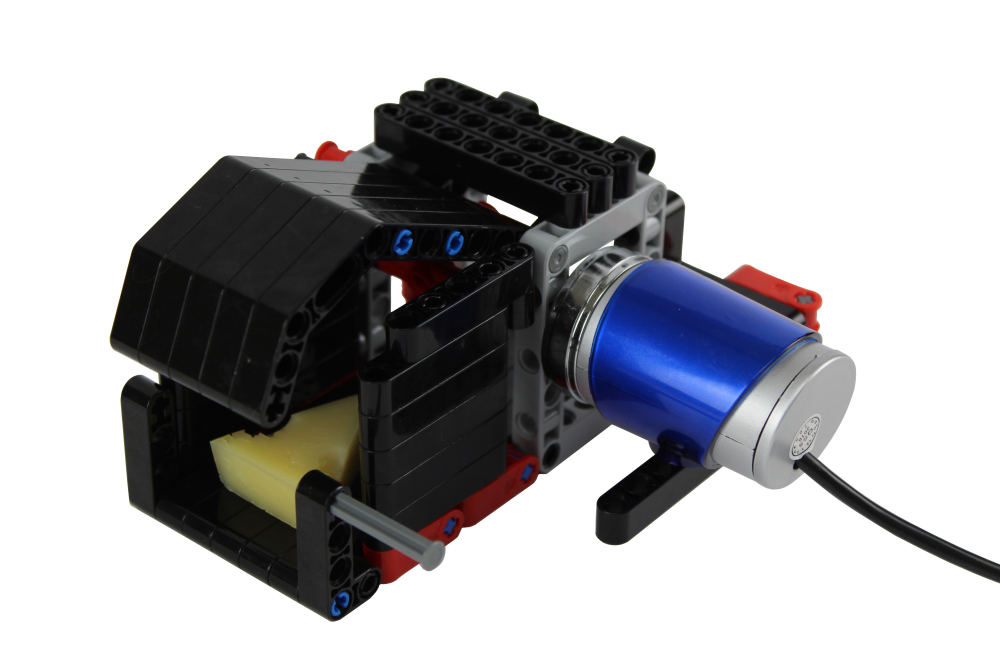
Mouse trap
The mouse tap is a neat little device, that can catch mice. It actually works. Put it in your garage and try it yourself. This device is equipped with a camera, and uses motion detection to notify the user, when a mouse enters the trap. It has two doors. One is available for the mouse to go in for the cheese, the other can be used to release the mouse, once it is caught. Build instructions |
|
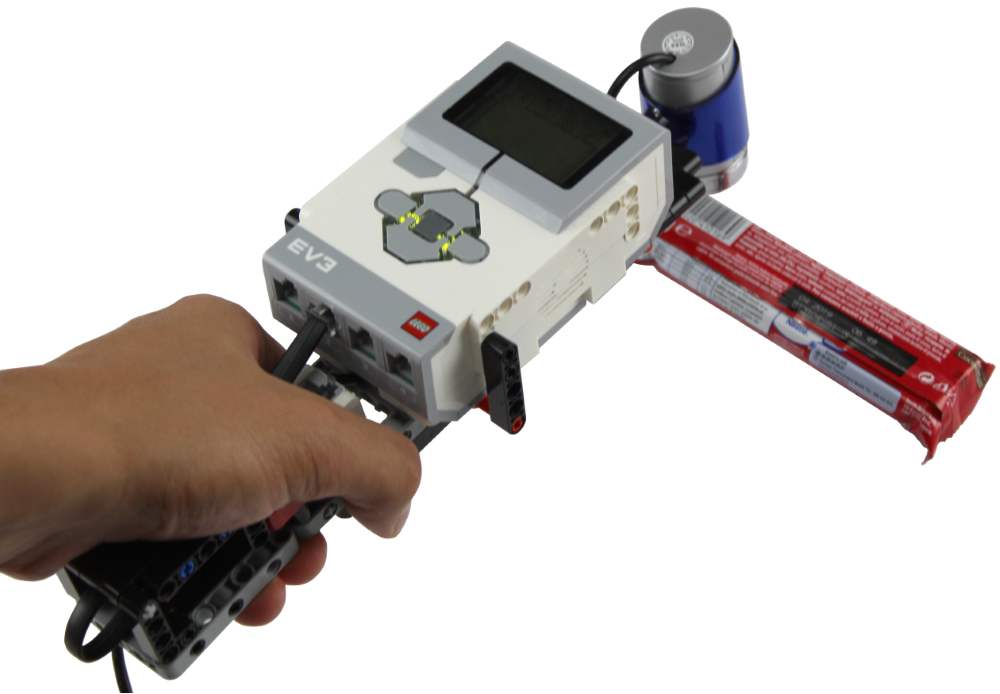
Barcoder
This is a barcode scanner. It consists of a USB camera, a button sensor and the Lego brick. When you press the button, the camera reads the barcode, and the brick displays the price of the scanned item. Scan barcode information can be saved into a database or into an Excel sheet. This is a great robot to teach barcode scanning / computer vision and data acquisition. Build instructions |
|
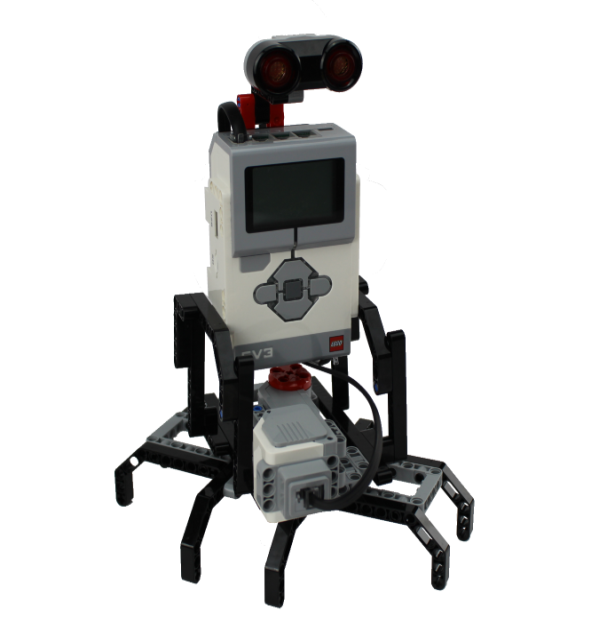
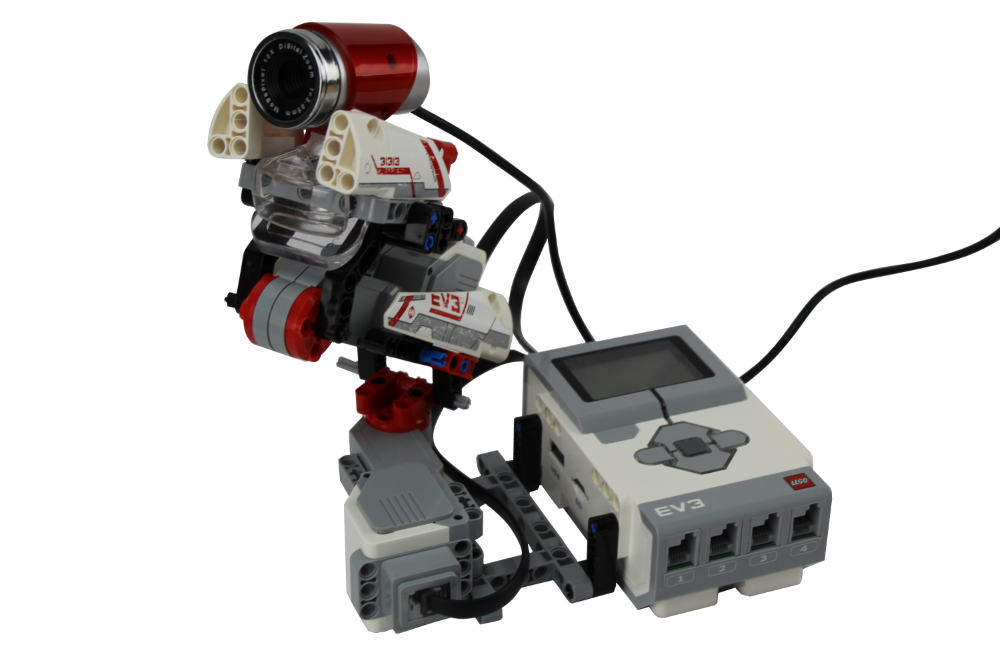
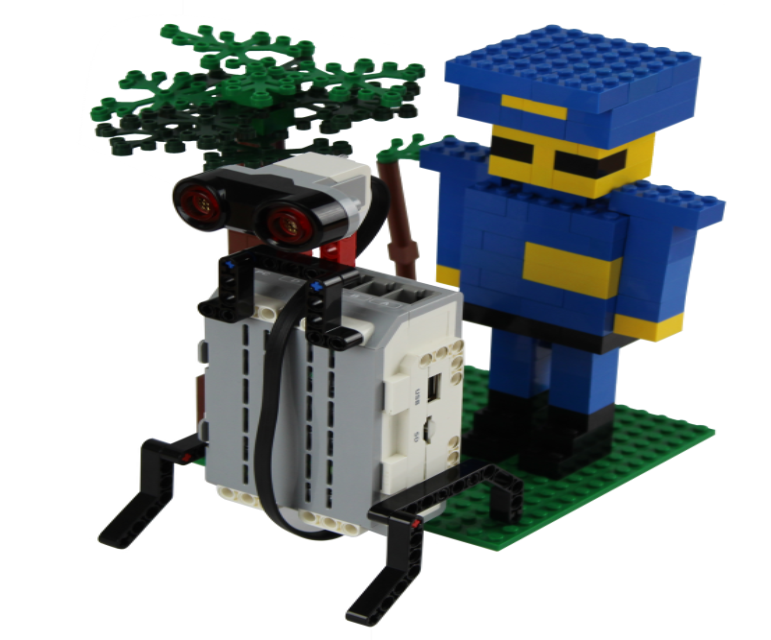
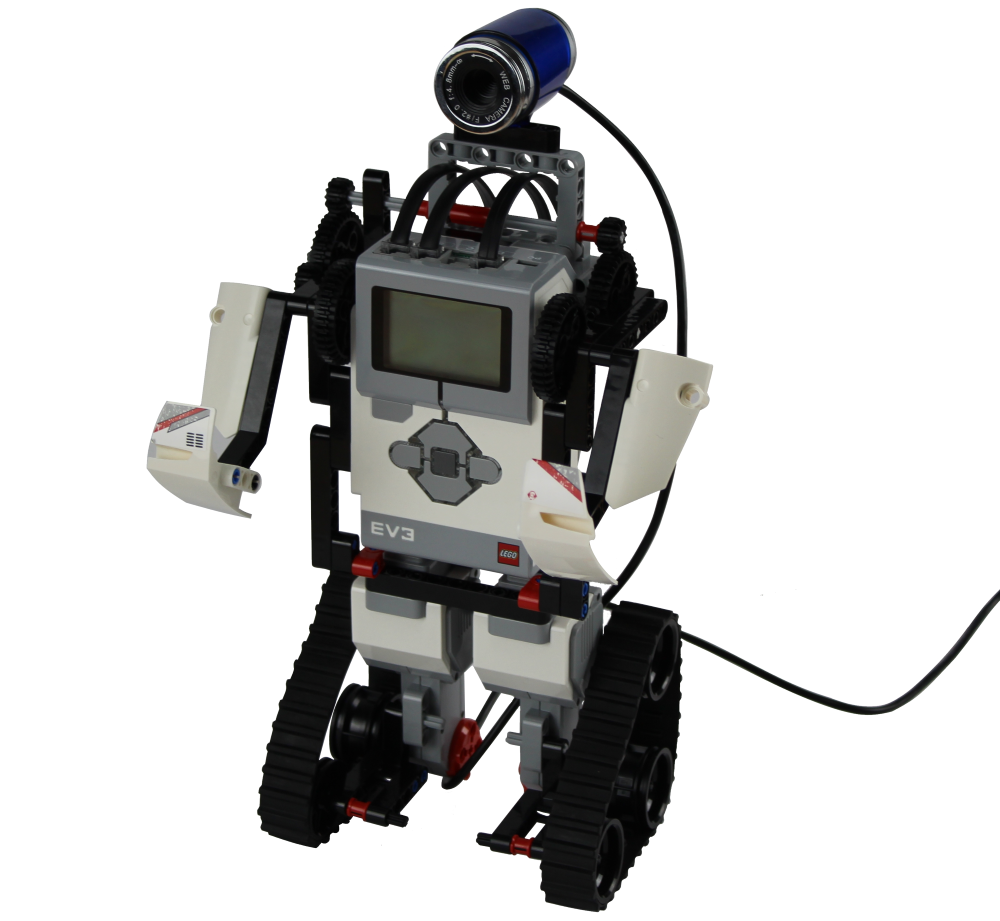
Facer
This is a face detection robot. It can move around. If it detects a human face, it will raise it's hand, display a smile face on it's LCD display, blink it's led and play some music on the speaker. It is fun to play with this robot, because it makes everybody smile. This robot is also great for teaching computer vision. The robot uses a USB camera to detect the face, and is controlled by a SNAP script in Ozeki 10. Build instructions |
|
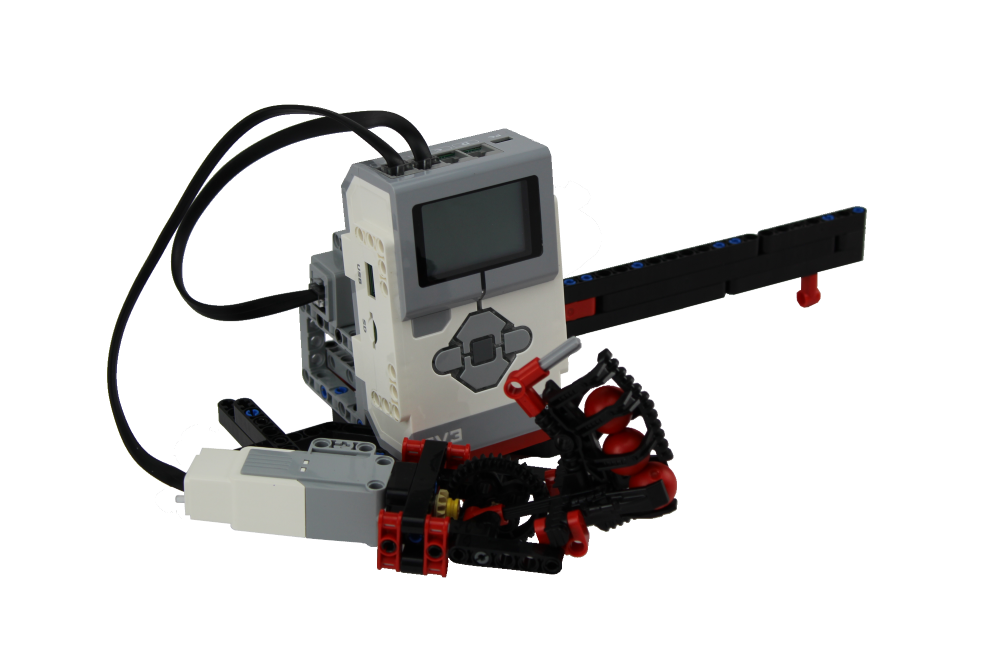
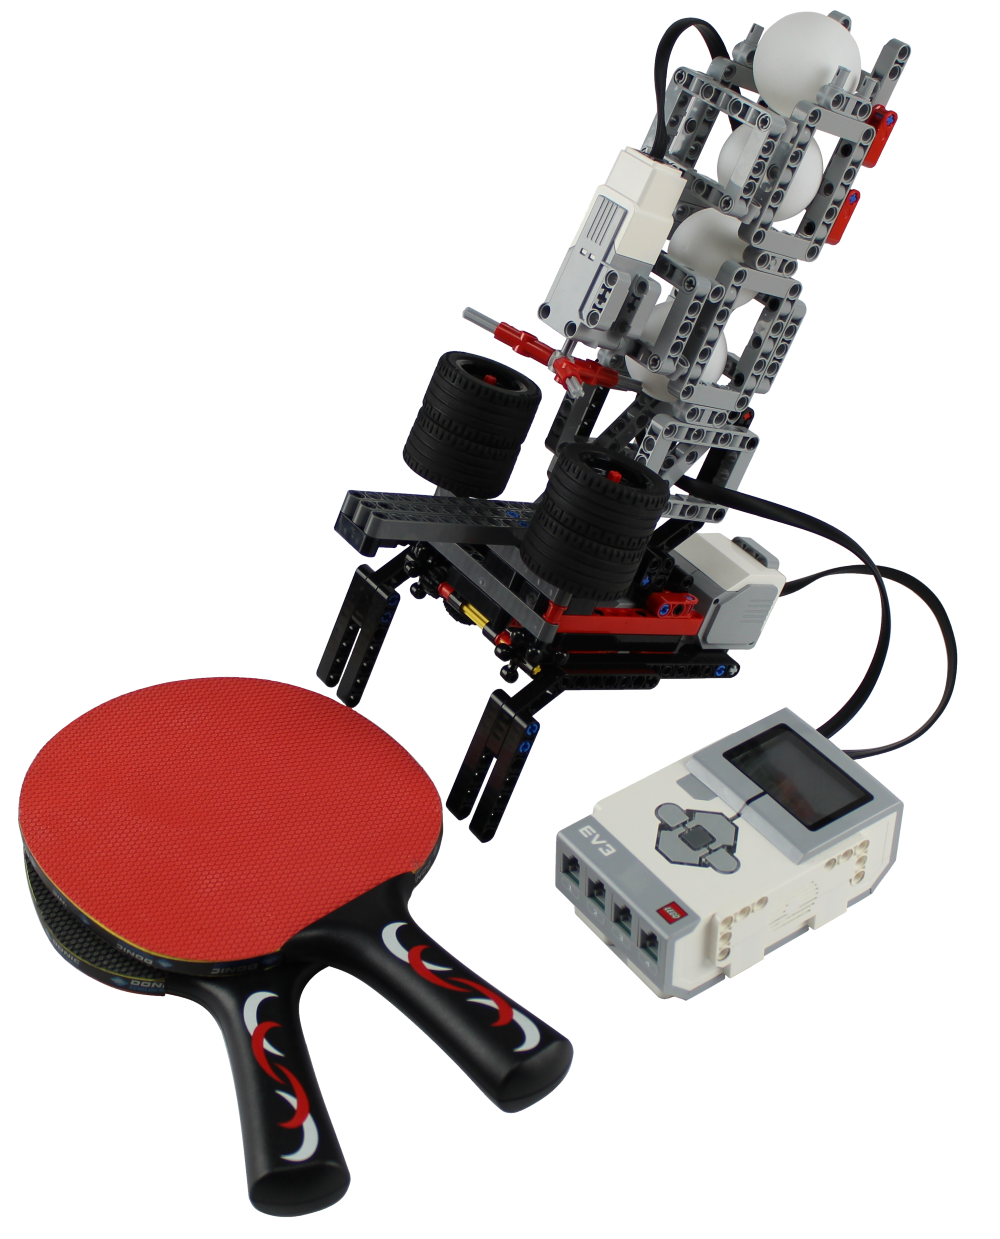
Ping-ponger
This is a ping pong machine built from Lego. It can be controlled by Ozeki 10. It uses a single large motor to rotate wheels, that will shoot the ping-pong balls, and it will use a medium motor to release the balls. The control program for this robot uses broadcast messages and serves as a great example for motion coordination. It control program is very easy to understand. This robot is great for improving your ping-pong skills. Build instructions |
Robots from the web...