 Sign in
Test the Lego motors and sensors in the Ozeki 10 Control Panel
In this Lecture you will see how you can test the Lego motors and sensors in the Ozeki 10 Control Panel through 6 simple steps. You need to collect the motors and sensors that you have discovered in Lecture 1. Then you should connect them to the Brick's A,B,C,D and 1,2,3,4 ports and check them in the Ozeki 10's Control Panel. In the last step you will test a motor and a sensor via chat interface with a simple command.
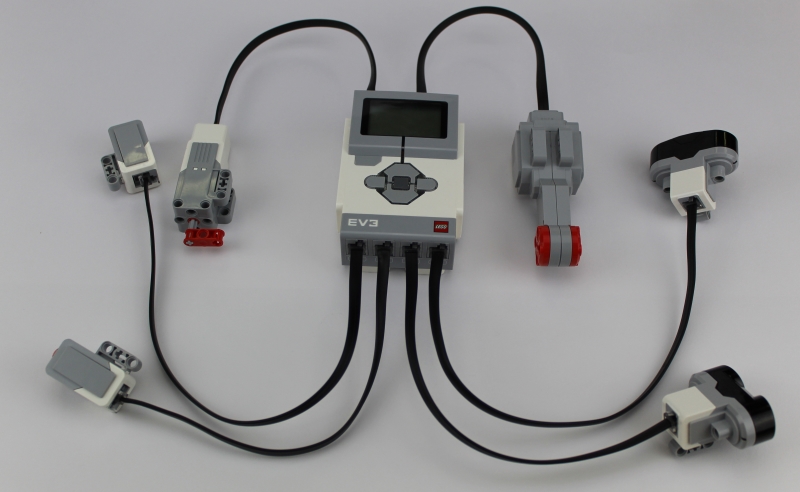
Figure 1 - Your Brick with the connected pieces
Terms and definitions
- Ozeki 10 Control Panel - You will test the components here.
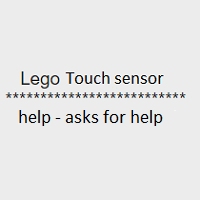
- Help - With this command you can check what the sensor/motor can do
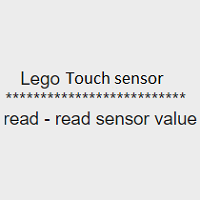
- Read - With this command you can check your sensor/motor's status
- Subscribe - You can receive messages from the sensor/motor if you send this command.
Requirements / Download
- Lego Mindstorms EV3 Brick
- Ozeki 10 server
- Large and Medium motor
- Gyro sensor
- Touch sensor
- Infrared sensor
- Ultrasonic sensor
- Wires
- Colour sensor
Step-by-step guide
Firstly, for the test you should collect the necessary pieces. You will need a Lego Mindstorms EV3 Brick, a Large motor and a Medium motor. You also need 4 sensors: Colour sensor, Touch sensor, Infrared sensor and Ultrasonic sensor. Collect 6 wires and connect the pieces to the Brick. You can connect the motors to one of the A,B,C and D ports and the sensors to 1,2,3, and 4 ports.

Figure 2 - Collecting the pieces for the test
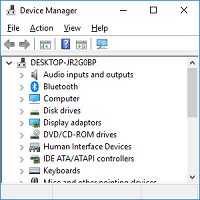
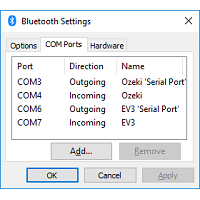
In this step you should turn on the Brick and connect the Brick to the PC. For turn on the Brick holding down the Brick's middle button for a few seconds. In the Bluetooth settings please turn the Bluetooth on. Then you should connect the Brick to the PC. If you don't know how you can connect the Brick to the PC please check the following page: http://inside.ozeki.hu/index.php?owpn=6065.
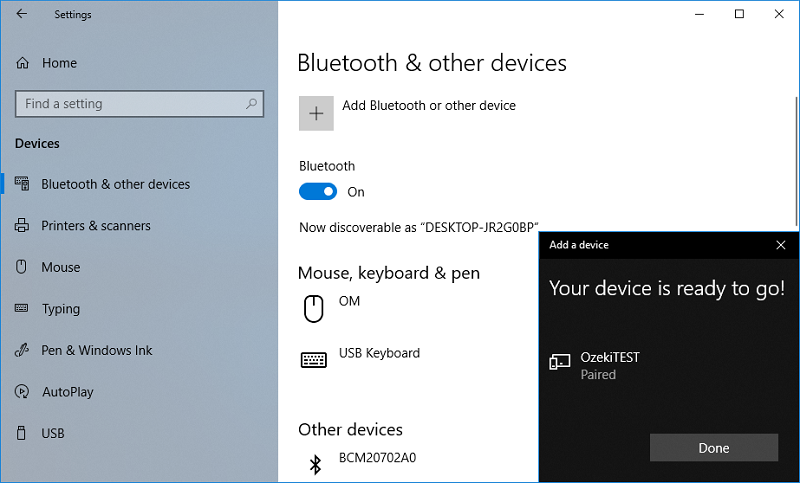
Figure 3 - Add a new device to the PC
Now, you should login to Ozeki 10. Please, type the Ozeki 10's address in your browser. In the Login window type your username and your password. In Ozeki 10 click on 'Control Panel' and click on 'Create new Connection'. In the 'Connection details' choose 'Sensor' then choose 'Lego' (Figure 4). Configure the connection with the same technique seen http://inside.ozeki.hu/index.php?owpn=6067.
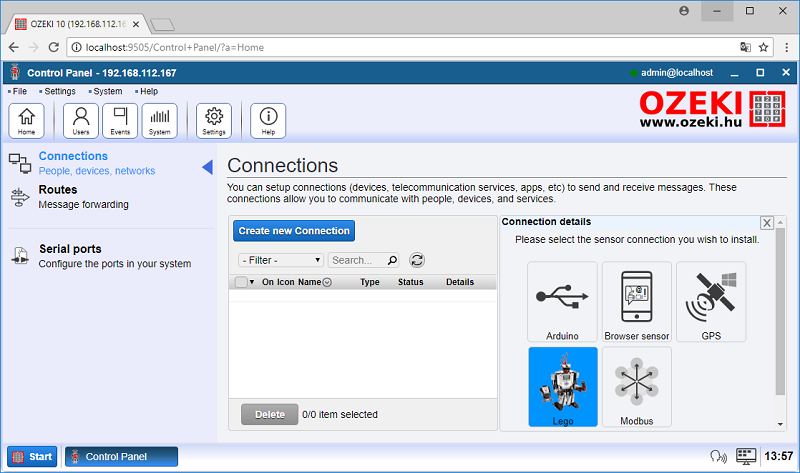
Figure 4 - Creating a new connection in Ozeki 10
If you have connected the Brick and the sensors and the motors to the PC and you have created a new connection in Ozeki 10 you should check the pieces in Ozeki 10. You should see the Large and Medium motor and the connected sensors, in this case the Colour sensor, Infrared sensor, Touch sensor and Ultrasonic sensor (Figure 5). You can check the pieces status if you click on 'Details'
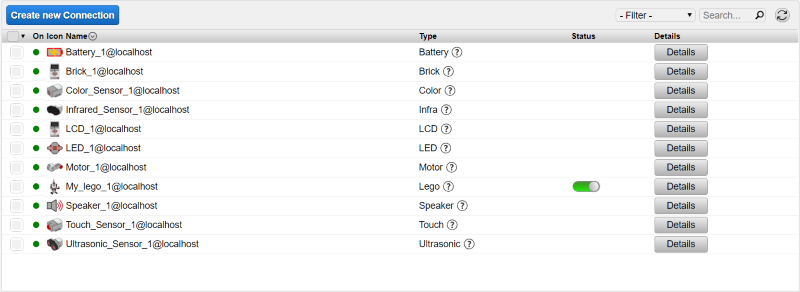
Figure 5 - The created ports in Ozeki 10
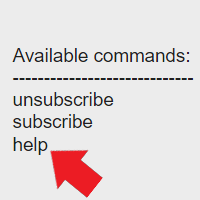
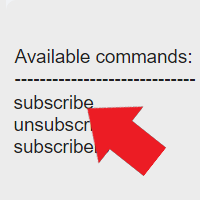
In this step you will test a motor. Choose the Large motor or the Medium motor's name. You will see a chat window where you can communicate with the motor. Firstly, you should type 'subscribe' in the chat field and send it then you can get informations from the motor. If you write 'help' you will see what you can do with the motor. Please send something from the list (Figure 6) for the test.
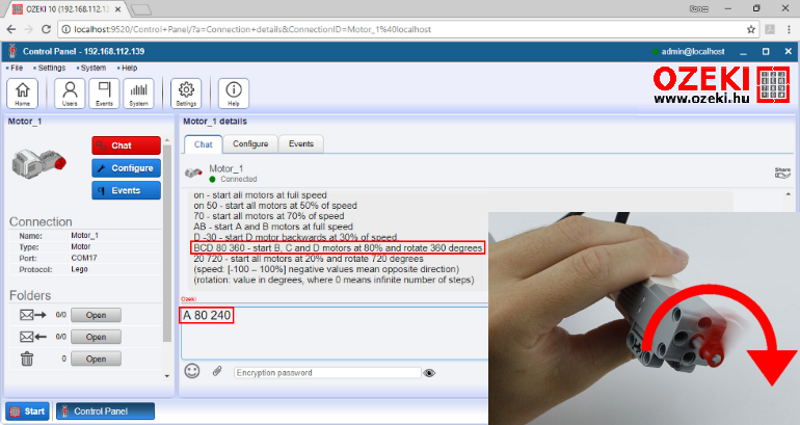
Figure 6 - Testing a motor via chat
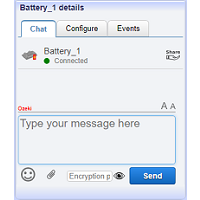
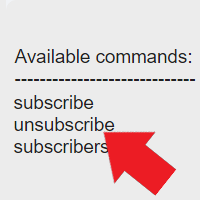
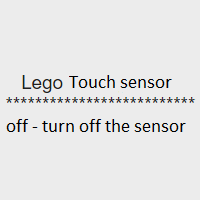
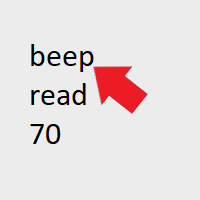
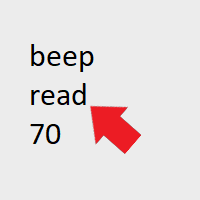
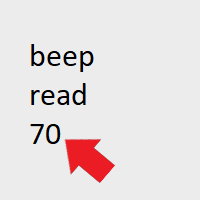
In this step you should test a sensor. Choose a Touch sensor, click on the sensor's name in Ozeki 10. You should see a chat window again. Type 'subscribe' in the chat field then send it, now, you can receive messages from the sensor. If you send 'help' you will see what you can do with the sensor. In this case, send 'read' then you can see if the touch sensor is being pressed or released (Figure 7).
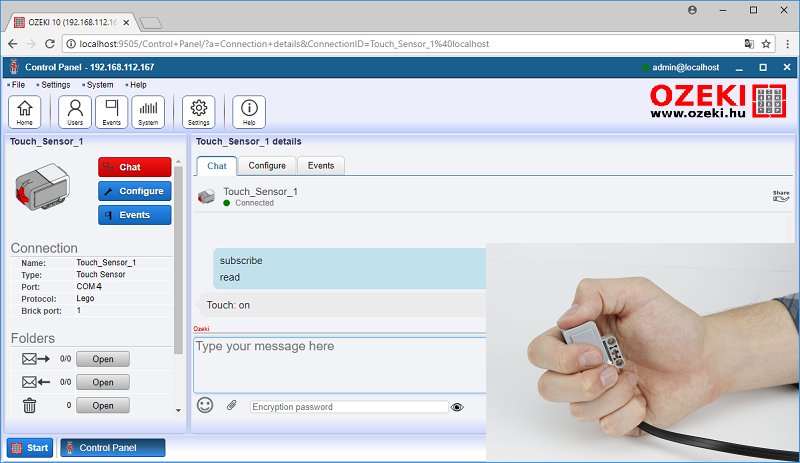
Figure 7 - Testing a sensor via chat
Quiz questions
1. Where can you find the connected components? |
|||||
|---|---|---|---|---|---|
 |
 |
 |
|||
| A | B | C | |||
2. How can you test the sensors? |
|||||
 |
 |
 |
|||
| A | B | C | |||
3. How many pieces do you need? |
|||||
 |
 |
 |
|||
| A | B | C | |||
4. Where can you test the motor? |
|||||
 |
 |
 |
|||
| A | B | C | |||
5. Which command can send informations about the motor's functions? |
|||||
 |
 |
 |
|||
| A | B | C | |||
6. Which command can you send to the motor? |
|||||
 |
 |
 |
|||
| A | B | C | |||
7. Which command can receive informations from the sensor/motor? |
|||||
 |
 |
 |
|||
| A | B | C | |||
8. How can you test the Touch sensor? |
|||||
 |
 |
 |
|||
| A | B | C | |||
9. Which command can't be used to a motor? |
|||||
 |
 |
 |
|||
| A | B | C | |||
10. How can you check the sensor or the motor's status? |
|||||
 |
 |
 |
|||
| A | B | C | |||