 Sign in
Switching to HTTPS
Start Ozeki 10 security app
First step is open Ozeki 10 Security app where you can create and configurate your certificates.
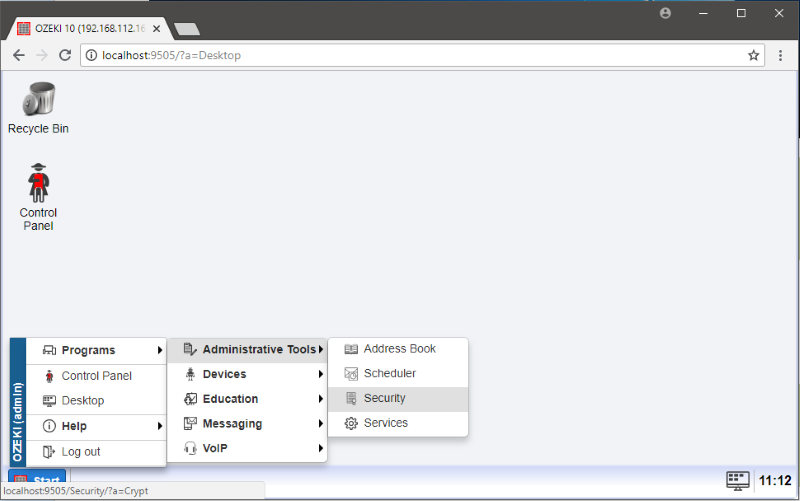
Figure 1 - Open security app
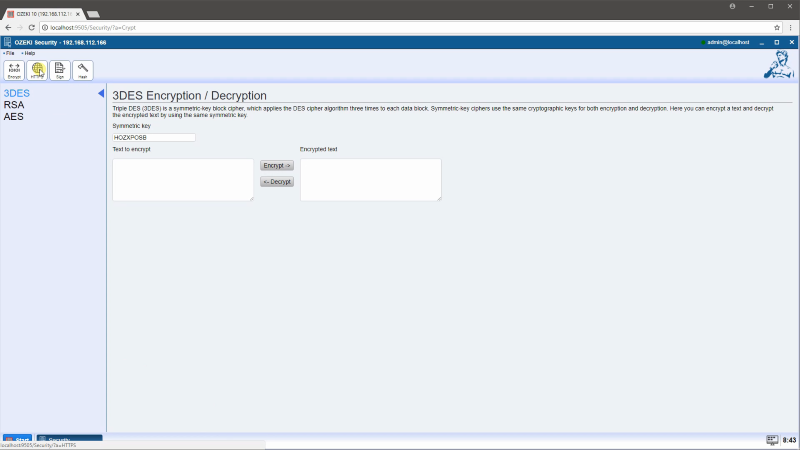
Figure 2 - Click HTTPS button
Create your own CA certificate
Before you switch to HTTPS you need to create your own CA certificate.
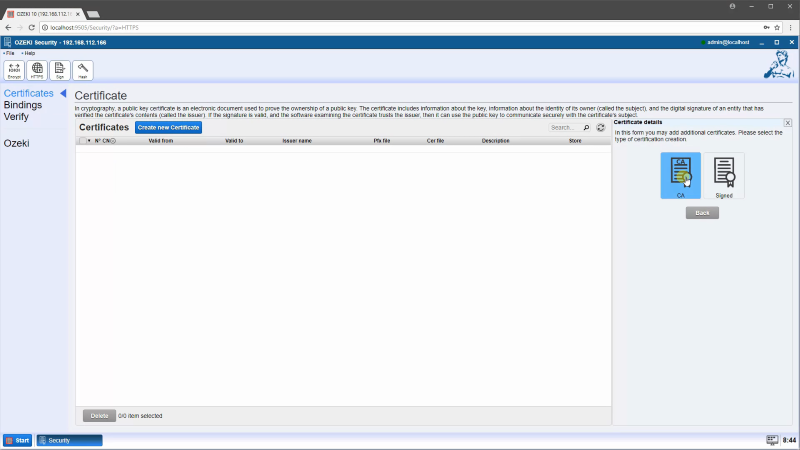
Figure 3 - Create CA
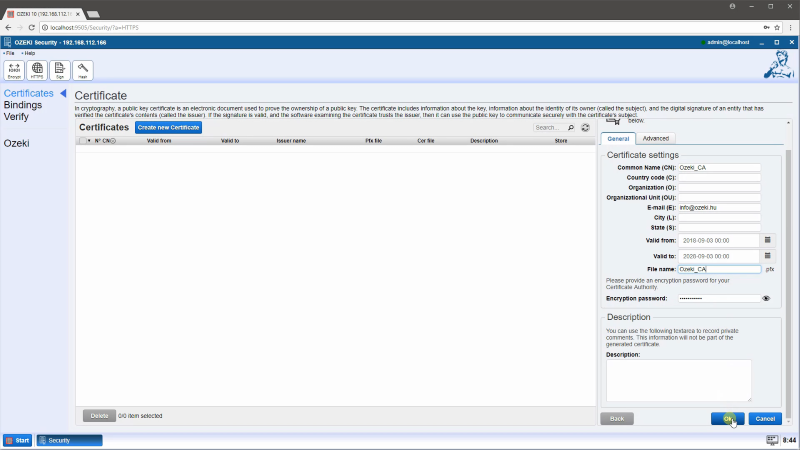
Figure 4 - Define Certificate settings
Create a self singned certificate
With your CA certificate you can create a self signed certificate for HTTPS.
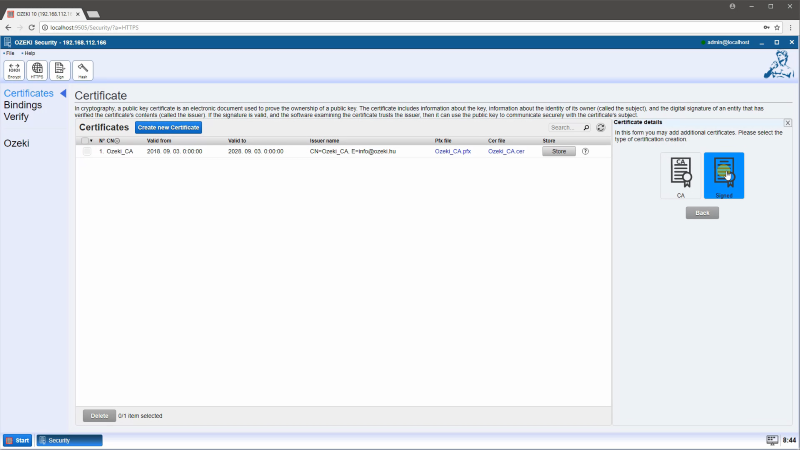
Figure 5 - Create self singned certificate
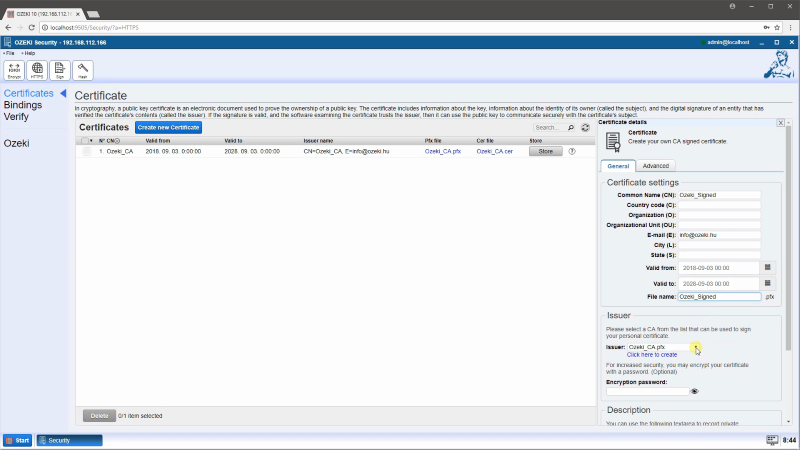
Figure 6 - Define self singned certificate settings
Bind the certificate to the appropriate port
To use HTTPS in a specific port you need to bind your self signed cerificate to the port.

Figure 7 - Save certificate to local machine store
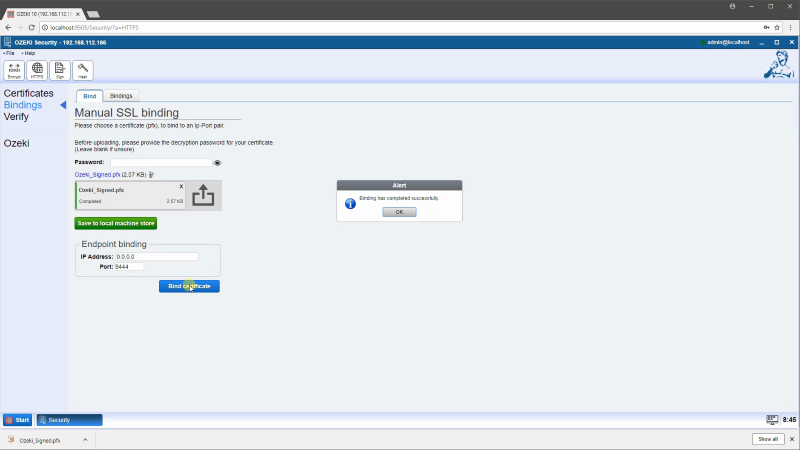
Figure 8 - Bind certificate to the port
Check the binding
In the Bindings tab you can see all port binding in your computer. In the list you can find the new binding what you created.
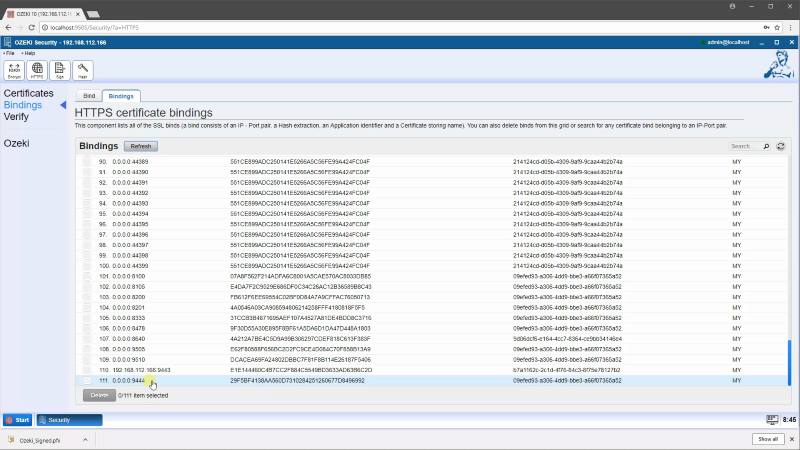
Figure 9 - Check the binding
Test HTTPS from a webbrowser
Your can check the HTTPS binding with the Ozeki 10's HTTP Server SMS connection. If the binding is correct you can create a HTTPS server with the port you specify earlier.
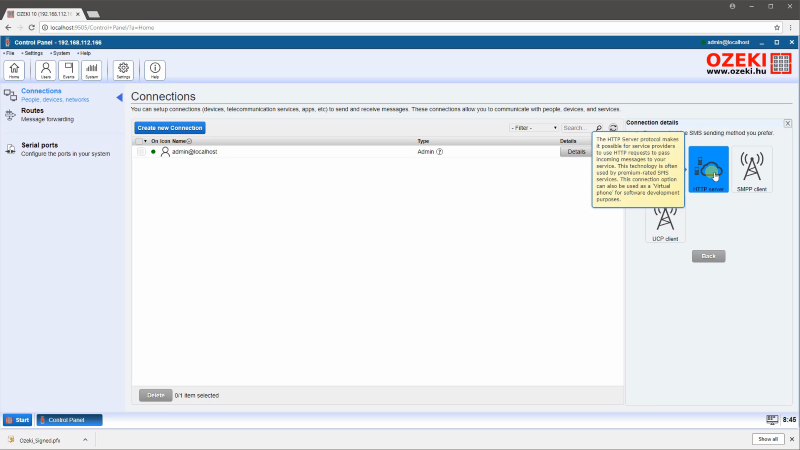
Figure 10 - Open HTTP Server SMS connection
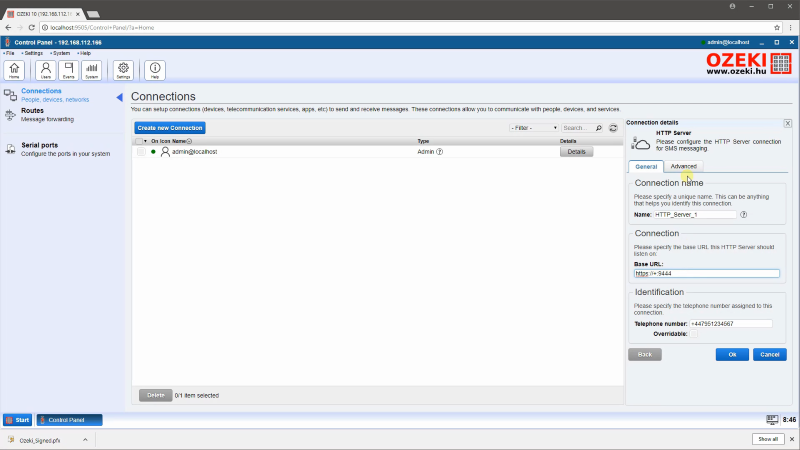
Figure 11 - Configure HTTP Server SMS connection
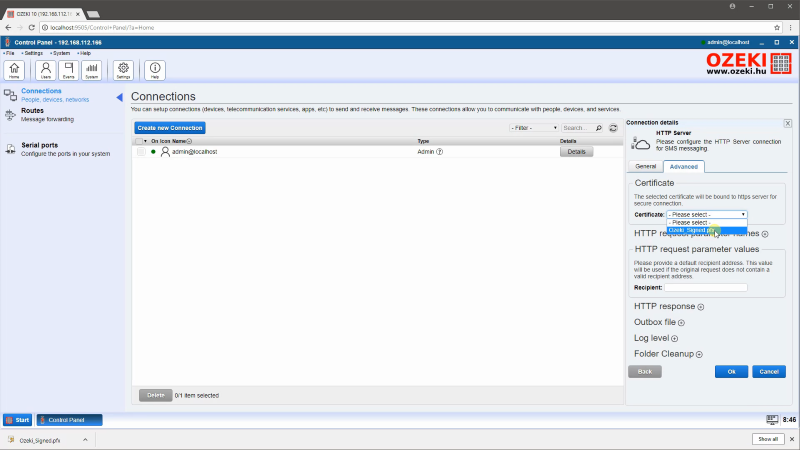
Figure 12 - Select certificate

Figure 13 - Check HTTPS
More information
- Switching to HTTPS
- Distriburing your own certificates
- Switch Ozeki 10 GUI to HTTPS